| “ | Caught between the Apex Games and Hammond Robotics, Loba is spinning a web of lies and deceit in her personal quest for vengeance… but how far is she willing to go? How does the Broken Ghost fit into her plans for Revenant? And what happens when one Legend stumbles upon the truth? See a side of the Legends’ lives you’ve never seen before... outside of the Games! Alliances will be formed, friendships will be tested, vendettas will be born, and when the dust settles, nothing will be the same again in a mystery that has far-reaching consequences for them all.[1] |
| The Broken Ghost | |
|---|---|
| |
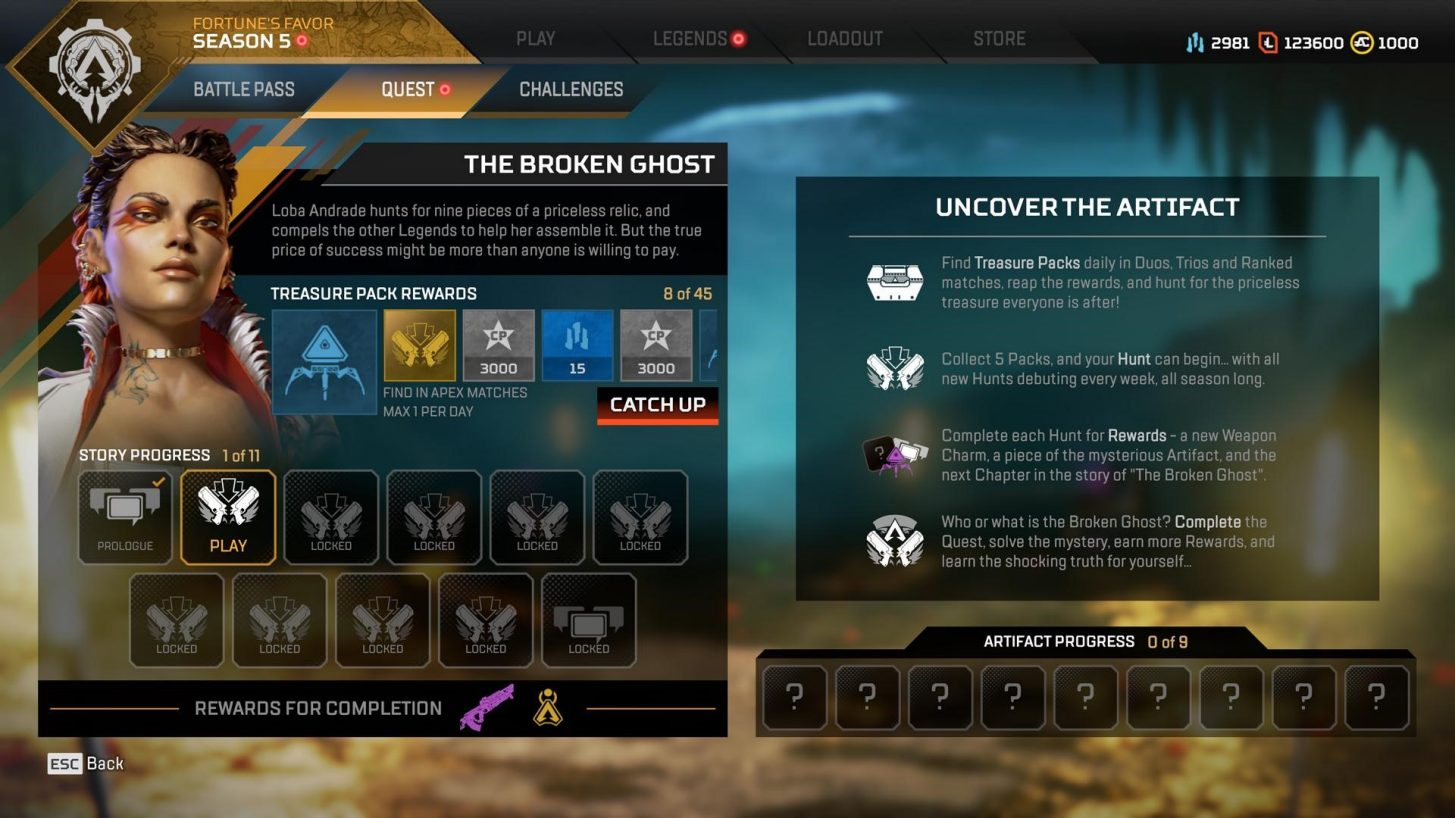
| The Broken Ghost tab overview. | |
| Info | |
| Season | |
| Treasure packs | 45 |
| Story | |
| Style | Text + missions |
| Number of parts | 11 |
| PvE map | Kings Canyon |
| PvE enemies | Prowlers, Shadow Prowlers |
| Succession | |
| Next quest | "The First Ship" |
The Broken Ghost was a quest during ![]() Season 5.
Season 5.
Hunts[ | ]
Playing Duos, Trios, or Ranked Leagues, players could find ![]() Treasure Packs in-game, once per day (players could also have purchased all the available Treasure Packs for
Treasure Packs in-game, once per day (players could also have purchased all the available Treasure Packs for ![]() 25).
Every five Treasure Packs collected unlocked
25).
Every five Treasure Packs collected unlocked ![]() 6000,
6000, ![]() 15, an Apex Pack and a Hunt, respectively.
15, an Apex Pack and a Hunt, respectively.
Each Hunt was a brief incursion into Kings Canyon at night. Your squad would have been dropped off, made their way to a target location, fight enemies, and recover a relic piece. Players had the option to play in squads like normal, or play solo, in which case they got two automatic respawns if knocked out.
There were nine Hunts, one released per week, needing a total of 45 Treasure Packs to unlock. Hunts could be replayed all season long. Each Hunt completed in The Broken Ghost unlocked a new piece of the relic and a new chapter in the story.
After all Hunts were completed and every piece of relic was collected, the player unlocks an additional "Hunt". When completed, you would earn two rewards:
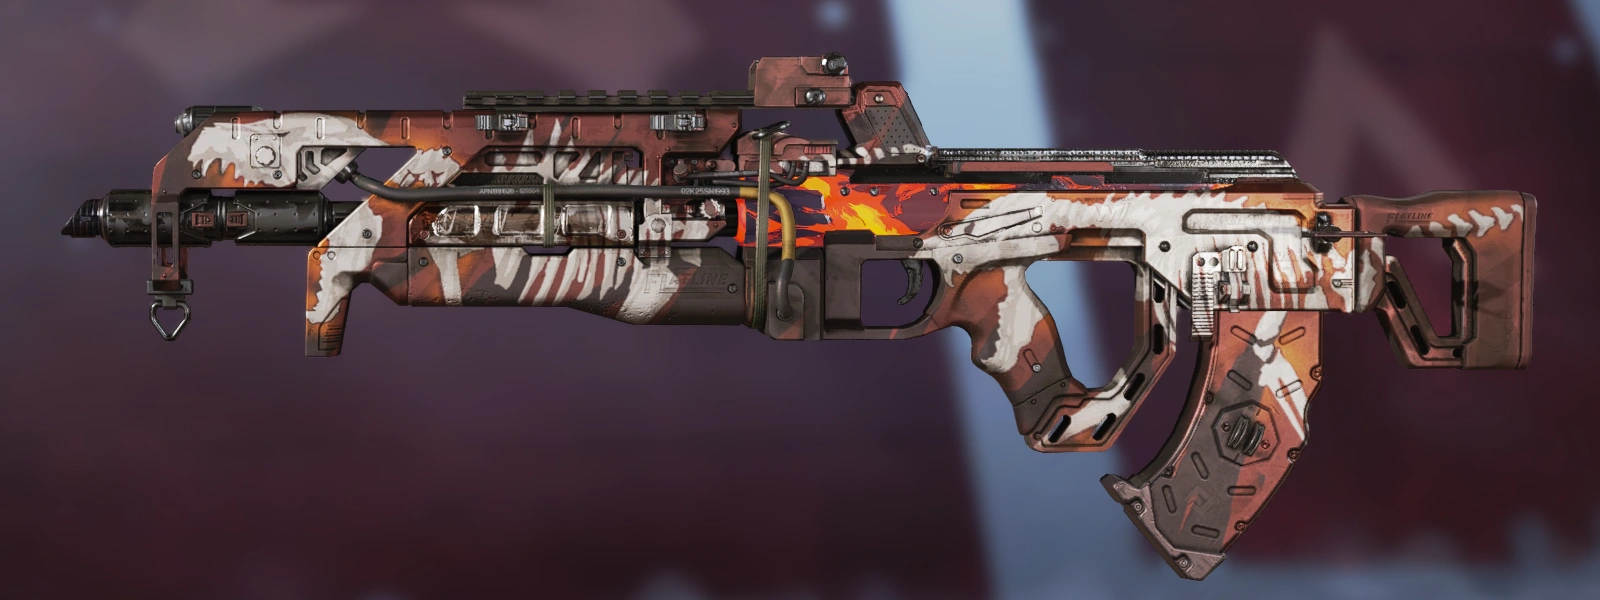
the Ancient Predator VK-47 Flatline Skin and the Bobblehead Ash ![]() Charm.
Charm.
Hunt Progress[ | ]
The First Piece[ | ]
Follow Loba's instructions to uncover the first artifact.
Players in this hunt start with a P2020, Mozambique, and a Level 1 ![]() Body Shield. Revenant and Loba are not selectable.
Body Shield. Revenant and Loba are not selectable.
This hunt drops players outside the western tunnel into Artillery. They have eight minutes to deploy a drill in the back hangar, recover the artifact piece, and escape on the dropship atop the western large building.
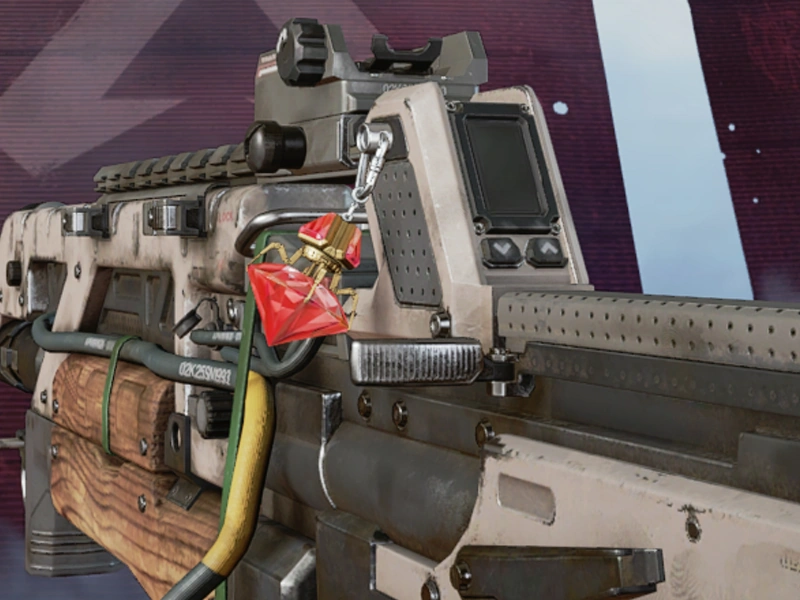
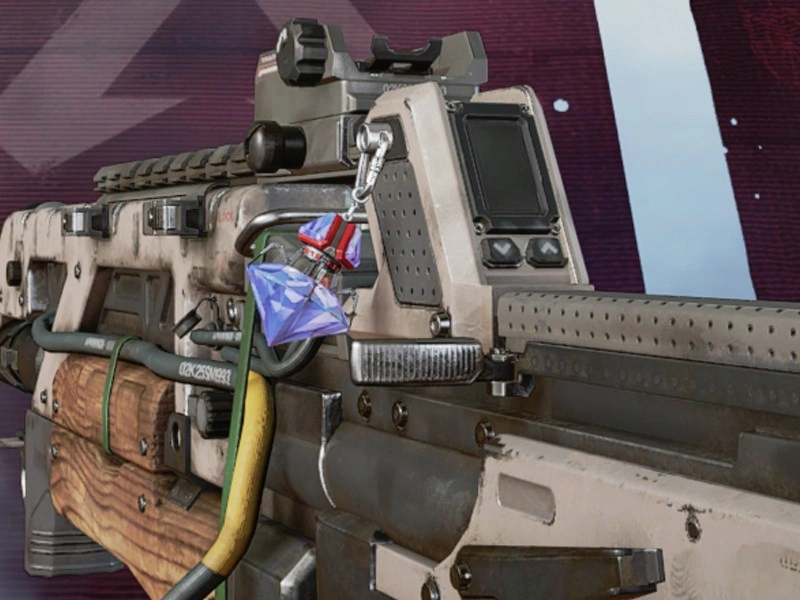
Unlocked after five Treasure Packs, this hunt became available on May 19. Completing this hunt unlocks the Gemini-XG Core artifact piece, the story chapter 'The Cranky Clown', and the Sapphire charm.
Dialogue[ | ]
Loba speaks to you throughout the Hunt.
As you are flying in to the dropzone: "This is the spot... watch your back and follow your marker to find the first piece of the artifact."
As you enter the tunnel: "Proceed cautiously...we aren't alone here."
As you exit the tunnel: "The artifact is close..."
As you enter the main structure in Artillery: "Not the first ones to come through here looking for this thing. Looks like they didn't get very far."
After starting the drill: "Remain vigilant. The noise will likely attract the local wildlife...or worse..."
As shadow prowlers begin to appear: "I warned you it would get worse. Prowlers and Shadows: a marriage made in hell."
When the drill finishes: "The extraction is complete. Get the artifact piece and let's go."
After picking up the artifact: "Head back to the ship and I'll thank you in person."
A Legend Falls[ | ]
Clear out hostiles from a safe distance then locate the next artifact.
Players in this hunt start with a P2020, a fully-kitted Triple Take, and a Level 1 ![]() Body Shield. Bangalore, Wattson, and Revenant are not selectable.
Body Shield. Bangalore, Wattson, and Revenant are not selectable.
As you land, players can see shots being fired from Wattson's position. This hunt drops players into the top of The Cage to snipe Prowlers. After each player kills four, they can proceed into the tunnel into Hydro Dam, where a downed Wattson dies and leaves a Death Box with supplies. Afterwards they must activate three panels to open the large doors, plant the drill in Hydro Dam, recover the artifact piece, and escape on the dropship immediately to the east.
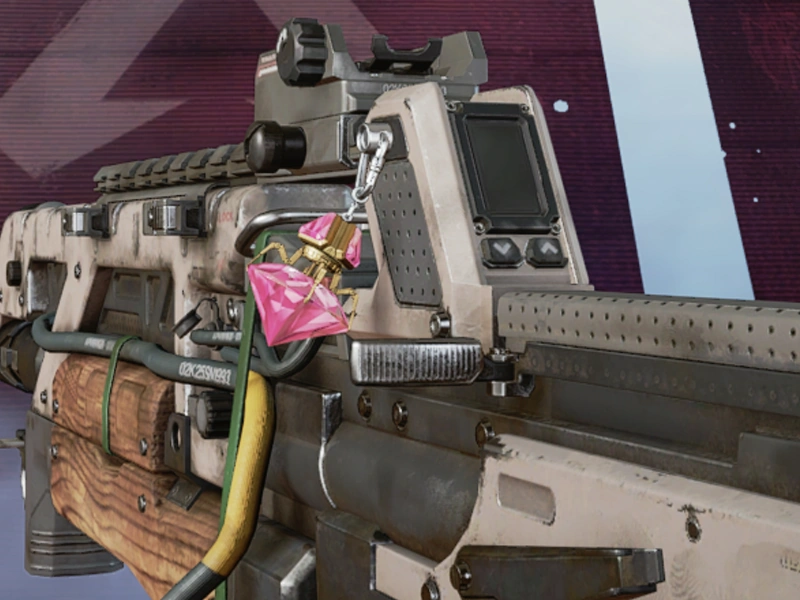
Unlocked after ten Treasure Packs, this hunt became available on May 26. Completing this hunt unlocks the Occipital Hub artifact piece, the story chapter 'The Detached Chaperone', and the Ruby charm.
Dialogue[ | ]
As you are flying in the ship, Bangalore says "Place is crawling with hostiles. You need to thin the herd before advancing towards the objective."
Upon landing atop the Cage, she instructs you, "Snipe some of those monsters before heading in."
After sniping enough of the prowlers, "Nice job, but we're not out of the woods yet. Head towards those fences... and be ready for anything."
As you approach the dam surrounded by Wattson's fences, "Picking up life signs. I think we got a man down..."
After reaching the base of the stairs, "Wattson's down but let's keep it together..." After approaching the locked doors, "Doors are locked. I'll mark the controls on you HUD."
After hitting the second panel, "One panel left. Check your HUD."
After finding the last panel, "That's what I'm talking about. Doors should be open now."
Once you begin drilling, "Watch your six. Hostiles approaching."
When the drill finishes, "Grab the case. Time to go!"
After grabbing the case, "Let's bring it home. To the drop ship, double time!"
Enter the Revenants[ | ]
A challenge of Shadows awaits.
Players in this hunt start with a fully-kitted Mastiff, a fully-kitted Hemlok, and a Level 3 ![]() Body Shield. Wattson and Revenant are not selectable.
Body Shield. Wattson and Revenant are not selectable.
Players are dropped into the settlement west of Water Treatment as a shadow, and must first destroy six ![]() Death Totems around the area. Afterwards players return to human form, and proceed to Water Treatment to plant the drill, recover the artifact piece, and escape on a dropship like usual.
Death Totems around the area. Afterwards players return to human form, and proceed to Water Treatment to plant the drill, recover the artifact piece, and escape on a dropship like usual.
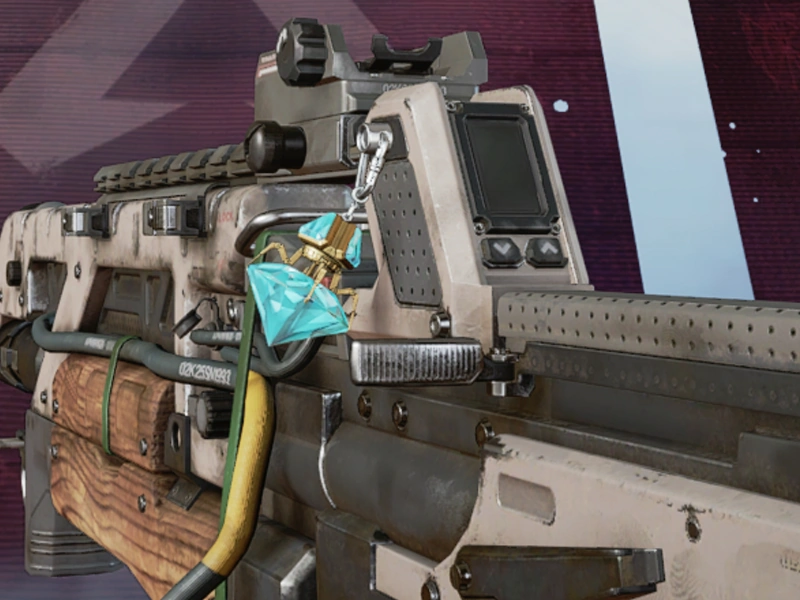
Unlocked after fifteen Treasure Packs, this hunt became available on June 2. Completing this hunt unlocks the Gemini-CC Core artifact piece, the story chapter 'The Liberated Narc', and the Sphalerite charm.
Dialogue[ | ]
Revenant speaks to you as you are flying in: "Looks like we have company. Let's make our guests feel...at home."
As you land and become a Shadow, "Welcome to the Shadows."
After destroying the fifth totem, "Only one totem left. Don't you like my games?"
After destroying the final totem and reverting to normal, "Fine. Have your skinsuit back. Not that it'll help you."
After beginning the drill, "You've been introduced to my Shadow pets, yes?"
As the drill finishes, "Whatever you're about to take, it's mine! This is my world! My toys!"
Once you pickup the artifact, "Think you'll make it to your ship alive? Think again..."
High Octane[ | ]
Stay alive while Pathfinder locates the dig site.
Players in this hunt start with a P2020, Mozambique, and a Level 4 ![]() Body Shield. Pathfinder, Wattson, and Octane are not selectable.
Body Shield. Pathfinder, Wattson, and Octane are not selectable.
This hunt drops players into Slum Lakes with many ![]() Launch Pads scattered around. Players must kill eight Prowlers before planting the drill in the pond to the east, recovering the artifact piece, and escaping on the dropship to the west of Slum Lakes.
Launch Pads scattered around. Players must kill eight Prowlers before planting the drill in the pond to the east, recovering the artifact piece, and escaping on the dropship to the west of Slum Lakes.
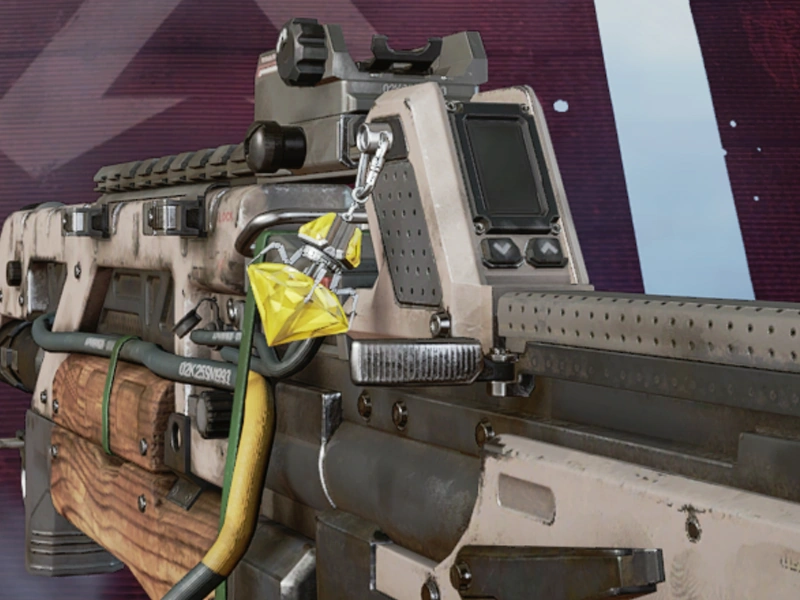
Unlocked after twenty Treasure Packs, this hunt became available on June 9. Completing this hunt unlocks the Retinal Array artifact piece, the story chapter 'The Impromptu Kidnapper', and the Howlite charm.
Dialogue[ | ]
Pathfinder speaks to you in this hunt. As you are flying in the ship, "Look! Octane must already be here! Let's eliminate some of these prowlers, and find the... choo-choo... Octrain!"
As you progress through the town, "Keep the incredibly violent wildlife at bay while I locate the dig site!"
Once you finish off the required number of prowlers, "Nice shooting! I've marked the location of the next piece, sending supplies there now!"
After you place the drill, "I love this part. And apparently, so does the local wildlife!"
When the drill finishes, "Ding ding! Drill's done! Grab the artifact!"
Once you grab the item, "Time to come home. And by home, I mean my best friend's public restroom. Yay!"
The Gauntlet[ | ]
Find the next artifact in close-quarters.
Players in this hunt start with a Wingman, P2020, and a Level 1 ![]() Body Shield. Gibraltar and Octane are not selectable.
Body Shield. Gibraltar and Octane are not selectable.
This hunt drops players at the eastern side of Bunker, next to Octane's Death Box, which contains only a Mozambique. Players must activate four panels inside Bunker to open the other end's doors, plant the drill just outside, recover the artifact piece, and escape on the dropship in the desert.
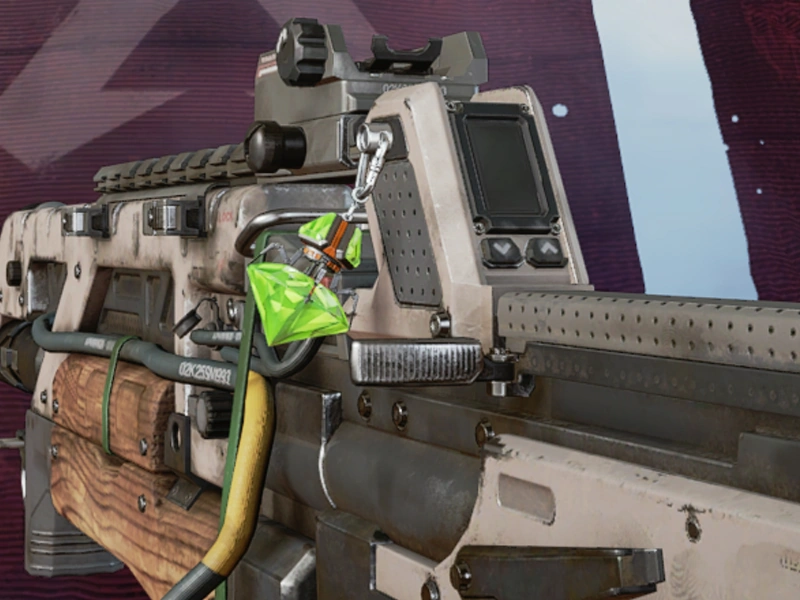
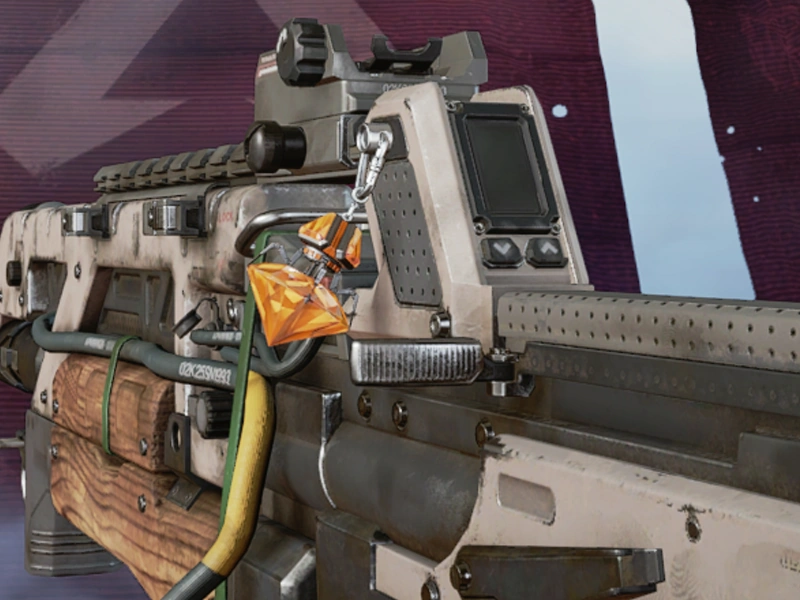
Unlocked after twenty-five Treasure Packs, this hunt became available on June 16. Completing this hunt unlocks the Faraday Armature artifact piece, the story chapter 'The Lying Liar', and the Green Aventurine charm.
Dialogue[ | ]
Gibraltar speaks to you as the ship is flying in, "We found Octane. Here's hoping we have the same luck with the next piece of the artifact, bruddah."
As you enter the bunker, "Exit's locked. Find those control panels, bruddah, or no one's getting home."
After activating the third panel, "One panel left. Marked it on your HUD."
After the last panel, "And that's how you do that! Exit doors should be open now."
Once the drill is started, "Time to hunker in the bunker. Beasties approaching!"
Upon the drill finishing, "Drill's finished the job. Go get yours! Hah!"
After grabbing the piece, "Great job! Get back to the drop ship, and let's get you home."
The Pit[ | ]
Retrieve the next artifact with a little help from Lifeline.
Players in this hunt start with a fully-kitted VK-47 Flatline, EVA-8 Auto, and a Level 1 ![]() Body Shield. Lifeline is not selectable.
Body Shield. Lifeline is not selectable.
This hunt drops players at the northern side of The Pit. Players must plant the drill in the middle of The Pit, recover the artifact piece, and escape on the dropship.
Unlocked after thirty Treasure Packs, this hunt became available on June 23. Completing this hunt unlocks the Scomp Housing artifact piece, the story chapter 'The Oblivious Mole', and the Carnelian charm.
Dialogue[ | ]
Lifeline speaks as your ship is flying in, "Gotta see this through to the end."
As you deploy the drill, Lifeline drops in a care package and says, "Prowlers closin' in. Sending in a REAL birthday present!"
When the drill finishes, "Looks like yuh struck gold. Get the piece, why don'cha!"
After you grab the piece, "G'wan back to the ship. Yuh been there long enough."
Return to Skull Town[ | ]
Mirage will be sitting this one out.
Players in this hunt start with a fully-kitted R-301, a fully-kitted RE-45, and a Level 2 ![]() Body Shield. Mirage is not selectable.
Body Shield. Mirage is not selectable.
This hunt drops players at the northwest side of Skulltown. Players must plant the drill in the top floor of one of the buildings in the middle of Skulltown, recover the artifact piece, and escape on the dropship on the southeast side of Skulltown.
Unlocked after thirty-five Treasure Packs, this hunt became available on June 30. Completing this hunt unlocks the IDCOMS Frame artifact piece, the story chapter 'The Shattered Spirit', and the Spinel charm.
Dialogue[ | ]
Mirage speaks as the ship is flying in, "Oh, good. We're back in Skulltown. You want to blow this one up too while you're at it, Loba?"
When you enter the house with rare gear, "Why is the best gear always protected by bloodthirsty monsters?"
Once you plant the drill, "Can't they make that thing any quieter? Maybe put some Prowler-repellent on it at least?"
When the drill finishes, "We've completed the extra-- the extrava-- the eggs-- the drill doohicky's done."
Once you grab the piece, "Ship is here! Better hustle!"
Air Support[ | ]
Use high ground to thin the herd.
Players in this hunt start with a fully-kitted Charge Rifle, a fully-kitted M600 Spitfire, and a Level 4 ![]() Body Shield, Level 4
Body Shield, Level 4 ![]() Helmet and Level 4
Helmet and Level 4 ![]() Backpack. Wraith and Revenant are not selectable.
Backpack. Wraith and Revenant are not selectable.
This hunt drops players in a Supply Ship over the river near The Cage. Players must climb the hill to the cave and plant the drill inside it, recover the artifact piece, cross the river to northeast to escape on the dropship waiting there.
Unlocked after forty Treasure Packs, this hunt became available on July 7. Completing this hunt unlocks the Parietal Shell artifact piece, the story chapter 'The Unwavering Protector', and the Beryl charm.
Dialogue[ | ]
Wraith speaks as the ship is flying in, "Snipe from above or drop into the fight. Your choice."
As you land on the Supply Ship, "Thin the swarms while I locate the artifact."
After taking out the required amount of prowlers, "Well done. I've located the artifact. Follow your markers."
After deploying the drill, "Caves are full of these things. Stay alert."
Once the drill finishes, "Drillwork's complete. Grab it and let's get you out of there."
After you pick up the piece, "Get to the ship, but be careful. The path may not be clear."
The Enemy of my Enemy[ | ]
A Shadow challenge with a twist.
Players in this hunt start with a fully-kitted R-99 SMG, a fully-kitted Mastiff Shotgun, and a Level 4 ![]() Body Shield, Level 4
Body Shield, Level 4 ![]() Helmet and Level 4
Helmet and Level 4 ![]() Backpack. Revenant and Loba are not selectable.
Backpack. Revenant and Loba are not selectable.
Players are dropped in the edge of the map east of Swamps. Players must absorb 5 nearby ![]() Death Totems. Afterward, the player assumes shadow form and must plant the drill east of Singh Labs. After recovering the artifact piece, players return to human form and must escape on a dropship where the hunt started with a speed boost provided by Revenant.
Death Totems. Afterward, the player assumes shadow form and must plant the drill east of Singh Labs. After recovering the artifact piece, players return to human form and must escape on a dropship where the hunt started with a speed boost provided by Revenant.
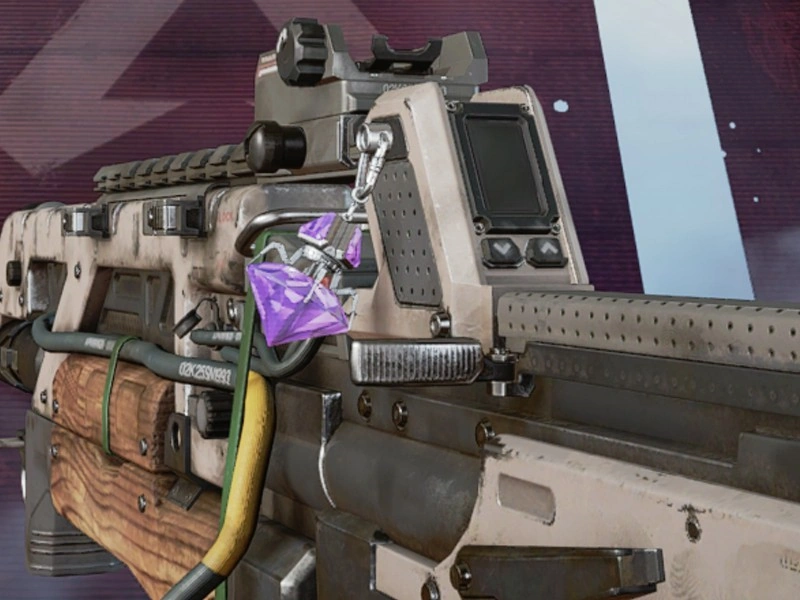
Unlocked after forty-five Treasure Packs, this hunt became available on July 14. Completing this hunt unlocks the Faceplate artifact piece, the story chapter 'The Broken Ghost', the Amethyst charm and the 'Ashes to Ashes' final incursion.
Dialogue[ | ]
Shadow Revenant speaks as you are flying in on your ship, "You want whatever it is you came for? I'll make a deal. Step into the Shadows. I'll help, and in return I won't ask for... much."
After absorbing the first totem, "Want real power? You'll need to draw it from the Shadows."
After absorbing the fourth totem, "One totem left. Admit it - you prefer being a shadow, don't you? I can make it so you're this way...forever."
When you absorb the final totem, "Do you feel the power of the shadows, raging your your veins?! Revel in it!"
Once you begin the drill, "Not even a fair fight, but here they come."
Once the drill finishes, "Now grab your trinket and go."
After picking up the piece, "Didn't want your old body back? Well, too bad. As for the speed...consider it my parting gift."
Ashes to Ashes[ | ]
Players in this incursion start with just a P2020. Pathfinder, Crypto, Revenant and Loba are not selectable. This can only be played solo.
This hunt drops players in Slum Lakes in the normal Kings Canyon. The player must enter "The Lost Tomb" located in one of the IMC's bunkers and place the completed artifact, Ash's head, on to her ravaged body. Ash then reactives and speaks: she repeats "Ash to Ashes" several times before ending it with "The path ends here. Welcome...to Olympus." Ash also mentions Duardo and Darion.
Unlocked after completing the "The Enemy of my Enemy" hunt, this incursion became available on July 14. Completing this hunt unlocks the 'Dust to Dust' epilogue, an 'Ancient Predator' VK-47 Flatline skin, and the Bobblehead Ash charm.
Dialogue[ | ]
Loba speaks to you over comms during this mission. As it begins, she says "Here we are."
After a moment, she says "Do you see the marker? Head towards it."
As you approach the bunker, "That's it. Look for a switch or handle or something."
The bunker opens automatically as you come closer, and Loba comments, "Well then. How friendly."
Upon landing in the Lost Tomb, "What do you see? Is thi----- for you to---- hear me?"
A short distance down the next passage, Loba says, "------ hear me? ----not m--- can--- alone----"
A short time later, she adds, "---- k ------------ ----- wh--- ----------"
From the time you enter the Tomb, a garbled, synthesized voice speaks the following lines in order. The lines repeat if the end of the list is reached. A few of the lines have minor variations that may play. If text appears in parentheses, it may not play each time. If two phrases are separated by a slash, it indicates either may be chosen when the line is played.
- "Do you fear me, Pilot?"
- "Alpha Gate. Thirty-seven. Forty-nine. Twenty-three. Nine. Hike."
- "Who doesn't like ice cream? Every kid likes ice cream."
- "Beta Gate. Tango to Quebec. Juliet Ate Romeo. Oscar won Whiskey."
- "Duardo! Darion! (Darion! Duardo!)"
- "Failsafe, failsafe, who's got the failsafe?"
- "Delta Gate. Comma. Niner. Question Mark. Zero. Ampersand. Four. Five. Period."
- "(Ah./Huh.) Just a wee bit of betrayal before breakfast, eh, dearie?"
- "Gamma Gate. Five across. Five down."
- "Five by Fii--i-i-ive"
- "Six. Eight. Two. Four. One."
- "Oh. Eight. Six. Nine. Two."
- "Four. Four. Two. Oh. Eight."
- "One. One. Oh. Nine. Five."
- "Two. Seven. Eight. One. One."
- "X equals the temperature of the negative space, NOT the specimen itself."
As you attach the head to the body, she speaks several more lines:
- "All roads...All roads lead to Branthium."
- "Ashes-to-Ash. Ashes-to-Ash. Ashes-to-Ash."
- "Ash..."
- "...to Ashes."
- "The path ends here."
- "Welcome..."
- "...to Olympus."
Story Progress[ | ]
Including the prologue and epilogue, there are eleven chapters.
The Duplicitous Snake[ | ]
The prologue takes place after the Season 5 Launch Trailer, the Season 5 loading screens, and Loba's invitation.
The narrator is the mysterious mole who plans on jeopardizing Loba's plans.
| Transcript |
|
"The Cranky Clown"[ | ]
This chapter is unlocked after completing Hunt #1.
The narrator is Mirage.
| Transcript |
|
"The Detached Chaperone"[ | ]
This chapter is unlocked after completing Hunt #2.
The narrator is Wraith.
| Transcript |
|
"The Liberated Narc"[ | ]
This chapter is unlocked after completing Hunt #3.
The narrator is Octane.
| Transcript |
|
"The Impromptu Kidnapper"[ | ]
This chapter is unlocked after completing Hunt #4.
The narrator is Lifeline.
| Transcript |
|
"The Lying Liar"[ | ]
This chapter is unlocked after completing Hunt #5.
The narrator is Loba.
| Transcript |
|
"The Oblivious Mole"[ | ]
This chapter is unlocked after completing Hunt #6.
The narrator is Crypto.
| Transcript |
|
"The Shattered Spirit"[ | ]
This chapter is unlocked after completing Hunt #7.
The narrator is Wattson.
| Transcript |
|
"The Unwavering Protector"[ | ]
This chapter is unlocked after completing Hunt #8.
The narrator is Gibraltar.
| Transcript |
|
"The Broken Ghost"[ | ]
This chapter is unlocked after completing Hunt #9.
The narrator is Bangalore.
| Transcript |
|
"Dust to Dust"[ | ]
The epilogue takes place after Quest End.
It is a chat room talk between Octane and Lifeline.
| Transcript |
**CONNECTION CLOSED** |
Artifact Progress[ | ]
| Image | Description |
|---|---|
 |
Responsible for higher functions and memory. Etchings "XG" type, of which there are no records. Evidently one half in a rare Gemini configuration, it would have required a resonant twin core to function. Holds a complex crystal matrix at nanoscale. Any compromise of housing would instantly reduce said matrix to dust - unit is very tough on the outside, and gossamer on the inside. Casing appears intact. |
| Image | Description |
|---|---|
 |
Physical and logical connection for entire assembly. Delivered constant conditioned power to cores. Passthrough channel for direct data between cores and an encryption sub, but no tap for the hub itself. Holds motor subprocessing. Likely interfaced and translated between host structure(s) for locomotion. |
| Image | Description |
|---|---|
 |
Second process core, identified as "CC" type, was seemingly entangled to the "XG" twin in a gemini configuration. The crystal matrixes in these cores required constant power cycling from an external source to stay pliable and functional. When power was lost, they hardened and went dormant. |
| Image | Description |
|---|---|
 |
Optical assembly of very high quality. Age and capability are difficult to resolve. Surprisingly advanced given estimated era of fabrication. Possible black-level R&D. The right eye has been damaged, and can't see wavelengths over 400nm. Some evidence of failed repair attempts. |
| Image | Description |
|---|---|
 |
Shielded other components against wide range of electromagnetic and electrostatic interferences, while also providing an ideal resonance environment for the cores. A grid of contact pins across the back seem to have no termination; possible this was stock part shared (or borrowed) from other designs. |
| Image | Description |
|---|---|
 |
Provided encryption/decryption services to downstream parts that had passed authorization. This is the only interface that the cores would have ever talked to in Raw-0 or Raw-7 modes. Lack of handshake keybank is surprising, suggesting authsync was provided by another system entirely, which is radically nonstandard. |
| Image | Description |
|---|---|
 |
Responsible for any and all communication with external world, including vocalization and wireless send/receive. Has limited-spectrum auditory mic, likely as failsafe/backup/confirmation for more capable hardware. |
| Image | Description |
|---|---|
 |
Dense battery array along ridge would have provided emergency backup power to entire assembly in event of primary power loss - likely for weeks or months. Sensor Packs on either side gave wide-spectrum audio pickup and localized spatial feedback. |
| Image | Description |
|---|---|
 |
Visage is unique, and startling. Possibly designed to invoke ranges of emotional reaction. Care and craft have gone into giving this the appearance of material much more fragile than it actually is. Spectral analysis also reveals a vast repeating series of encryption keys embedded in substrate. Explains lack of authsync in SCOMP housing but raises a number of other questions. Without this piece, the rest of the assembly wouldn't have ever functioned. |
Quest Rewards[ | ]
- Weapon Skins

Ancient Predator
VK-47 Flatline
Completion of Quest End
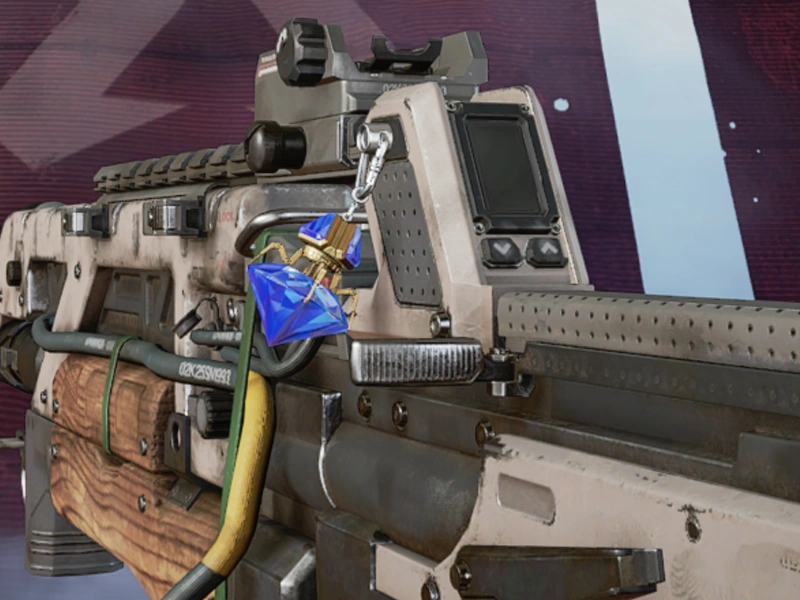
- Weapon Charms
Sapphire
Completion of Hunt #1Ruby
Completion of Hunt #2Sphalerite
Completion of Hunt #3Howlite
Completion of Hunt #4Green Aventurine
Completion of Hunt #5Carnelian
Completion of Hunt #6Spinel
Completion of Hunt #7Beryl
Completion of Hunt #8Amethyst
Completion of Hunt #9Bobblehead Ash
Completion of Quest End
Continuation[ | ]
Continuations of this quest' storyline that were released by Respawn Entertainment:
Gallery[ | ]
![Prelude to The Broken Ghost.[2]](https://static.wikia.nocookie.net/apexlegends_gamepedia_en/images/c/c2/The_Broken_Ghost_prelude.jpg/revision/latest?cb=20200716032047)
![Transcripts from Yoko.[3]](https://static.wikia.nocookie.net/apexlegends_gamepedia_en/images/2/29/Yoko_Transcript.jpg/revision/latest?cb=20200620213124)

Trivia[ | ]
- The title "The Broken Ghost" could refer to either Revenant or Ash. Tom Casiello personally believes it is Revenant but says it is intended to be ambiguous and neither answer is incorrect.[4]
- "The Broken Ghost" was originally supposed to have a direct continuation in Season 6; however, due to unforeseen circumstances, it was scrapped.[5] It would have touched upon Bangalore.[6]
References[ | ]
| ||||||||||||||||||||||||||||||||||||||||||||
| |||||||||||||||||||||||||||||||||||||||